
Thanksgiving is a time for gathering with loved ones, sharing a delicious meal and expressing gratitude. Why not add a retro and colorful touch to your Thanksgiving table decor this year by creating custom sublimation coasters? Sublimation is a fantastic way to infuse your designs and images directly onto the surface of your coasters, creating a lasting and vibrant addition to your holiday setting.
This tutorial is sponsored by Creative Fabrica. All opinions are mine alone.
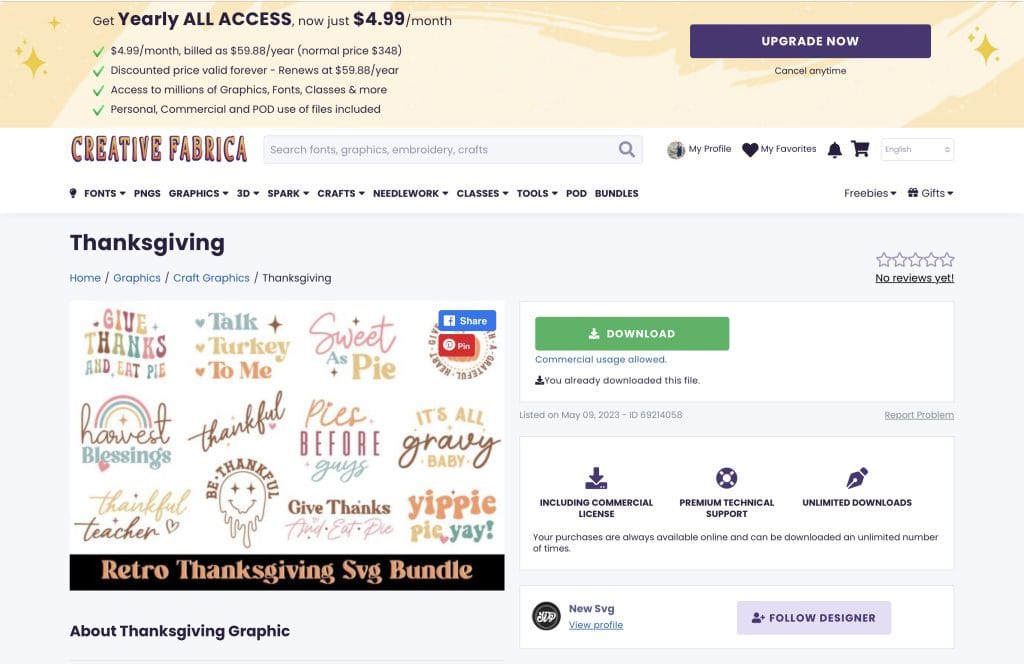
Creative Fabrica is a digital platform with over 14 million designs, fonts, SVG files and more for a variety of DIY crafting projects including Cricut crafts, papercrafting, scrapbooking and die cutting, to name a few.. In this tutorial, you’ll learn how to create beautiful sublimated coasters for your Thanksgiving table for FREE using Creative Fabrica.

Many of the crafts for our Thanksgiving dinner table were created using the All Access Subscription on Creative Fabrica. With the All Access Subscription, you can download files to your heart’s content, with unlimited access to over 14 million digital assets and design resources. When you head over to Creative Fabrica, you’ll find everything you need to impress your guests such as SVG crafts, party sets, graphics, fonts, needlework patterns and more. The list is never-ending!
Check out the video below to watch the tutorial or keep reading for instructions.

Materials Needed
- Sublimation printer with sublimation ink (Epson 2800 series sublimation printer used)
- Sublimation paper for the printer
- Blank sublimation coasters (available in various shapes and sizes)
- Heat-resistant tape (optional)
- Heat-resistant gloves (optional)
- Heat press machine
- Parchment paper
- Computer with graphic design software (e.g., Adobe Illustrator, or free alternatives like PicMonkey)
- Design or image for your coaster (I used the Retro Thanksgiving SVG Bundle)
Instructions
Step 1: Design Your Coaster
- Download your chosen design from Creative Fabrica by clicking on the download button.
- Unzip the file on your computer to access the format you need.
- Open your chosen graphic design software and create a new document where you can upload your design file to.
- Measure your coaster, and then resize the graphic to ensure it fits perfectly on the coaster after printing.
- In your design software, flip or mirror the graphic. Sublimation printing operates in reverse, transferring ink onto the fabric or material, which means that your design will appear backward if you don't mirror it.
- Save the file to your computer or device so that you can print it.
Step 2: Print Your Design
- Load your sublimation printer with sublimation paper, and make sure to select the appropriate print settings. For this project, I adjusted the printer settings to the highest quality to ensure a vibrant, colorful transfer onto the coaster.
- Print your design onto the sublimation paper.
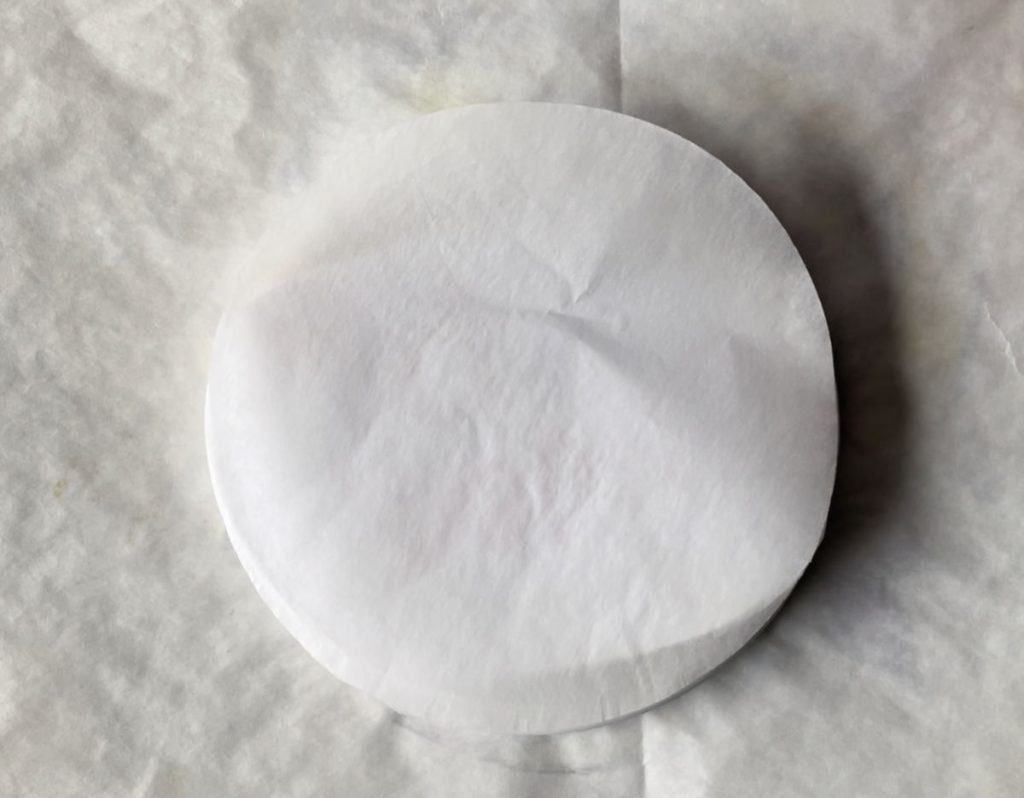
Step 3: Prepare Your Coaster
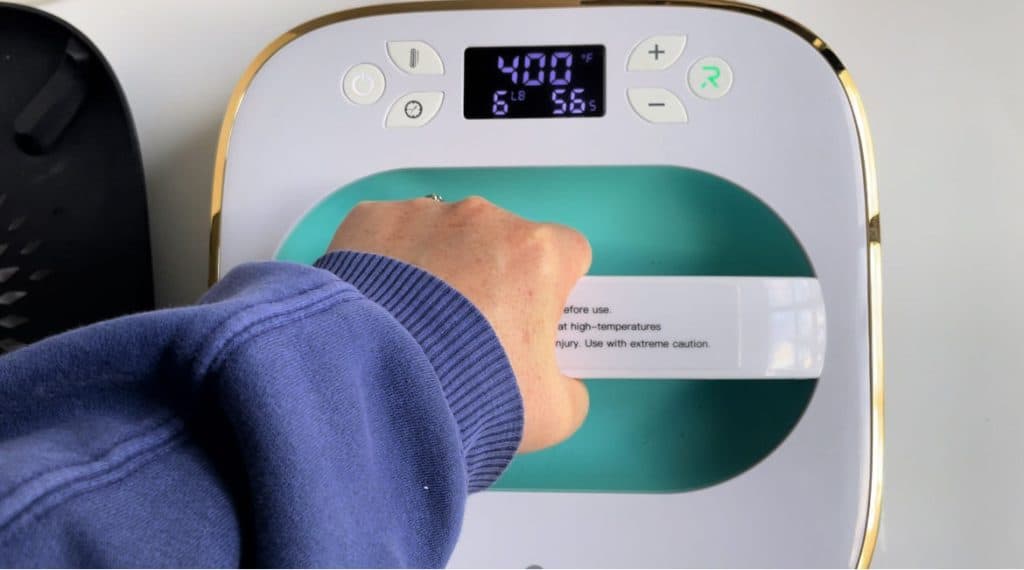
- Set up your heat press machine and allow it to reach the desired temperature, typically around 400°F (204°C).
- Use a microfiber cloth to wipe the coaster blank's surface, ensuring it's free from fingerprints and dust.
- Cut out your design, verifying that it fits properly on the coaster.
- Position your coaster blank on top of the first layer of parchment paper. Then, position your sublimation paper over the coaster, ensuring that the design faces downward. If needed, secure the sublimation paper to the coaster using heat-resistant tape.
- Add another sheet of parchment paper on top of the sublimation paper.
Step 4: Transfer Your Design
- Gently and carefully place the heat press machine over the coaster. Consider wearing heat-resistant gloves to avoid accidental burns.
- Apply pressure until the machine indicates you have applied approximately 50 pounds of pressure.
- Adhere to the recommended time and temperature settings for your specific sublimation paper and coaster type. Typically, sublimation takes 60-90 seconds at 400°F (190°C).
Step 5: Reveal Your Sublimated Coaster
- Allow your coaster to cool for a few seconds before handling, as it will be very hot.
- Gently peel off the sublimation paper to reveal your beautifully transferred design.
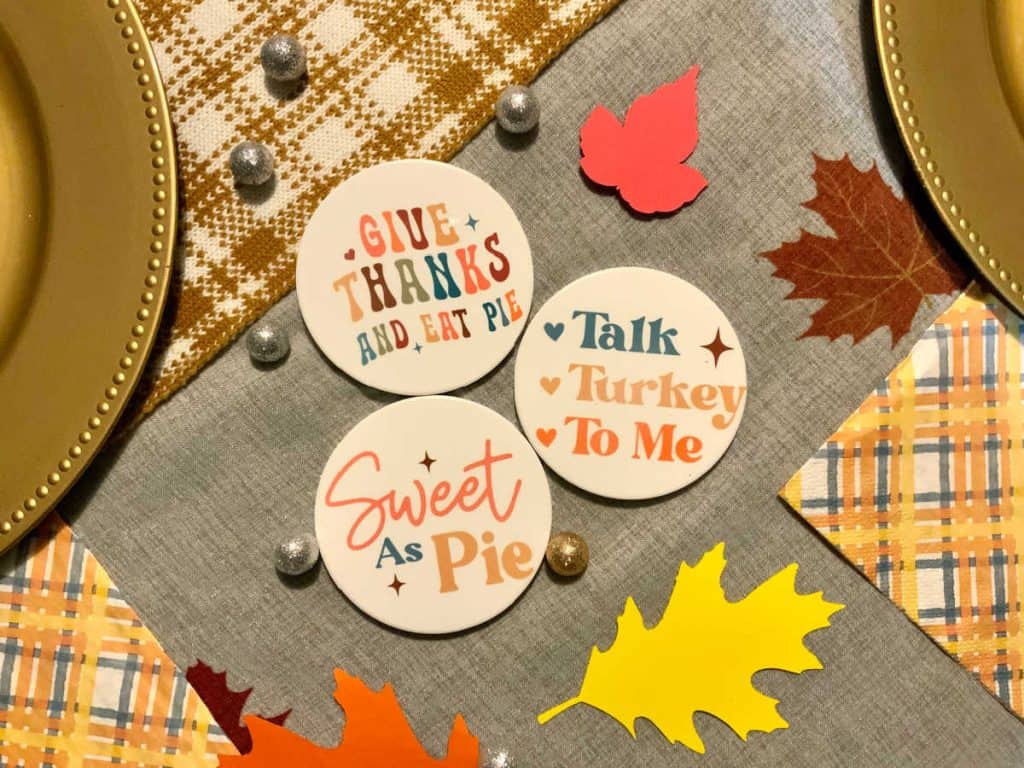
Now that you have crafted your stunning Thanksgiving coaster, you can utilize it as a decorative element for your Thanksgiving table. It serves not only as a practical accessory but also as a creative embellishment that will elevate your tablescape and make your holiday gathering even more special.
Tips and Tricks:
- Test your design and settings on a scrap piece of sublimation paper and spare coaster to ensure everything works perfectly before working on your final piece.
- Use high-resolution images and designs for the best results.
- Make sure the sublimation paper is smooth and free of wrinkles or bubbles when securing it to the coaster.
- Get creative and try different Thanksgiving-themed designs from Creative Fabrica to find the one that suits your table decor best.
- After doing this craft it is also important to keep your Cricut mat clean.

Full list of Creative Fabrica assets used in this tutorial:
- Retro Thanksgiving SVG Bundle
- Watercolor Pumpkins Place Cards
- Thanksgiving Gift Boxes Set
- Fall Season One PNG Bundle
- Thanksgiving Menu Template
- Leaves Graphic one, two and three
- Green and Gold Wedding Invite
This is the second in a series of posts brought to you by Creative Fabrica and Hometalk. Check out last month’s project Halloween Party Inspiration and DIY 3D SVG Layered Paper Art Print.
You may also like: DIY Fall Table Runner

Hi I’m Adrienne Carrie Hubbard. I believe a rich life comes not from the things you have, but the things you do; the experiences you create and the people you meet along the way. Thanks for hanging out!