Nothing is more uninspiring than a dull floating mirror. It is not only predictable, but it also probably doesn't showcase your unique sense of style.

Fortunately, a frame offers a quick solution. Once you know how to frame a mirror, that plain piece of furniture will feel brand-new once more.
We have the tutorial you need to completely convert any of your existing mirrors. Fortunately, framing a mirror is a simple DIY project that even a beginner can attempt!
Tools And Materials
First, you need to gather your framing materials and supplies before you dive in.
Many of these materials and tools can already be found around your home, but if not, a trip to the hardware store or a browse online will get you everything you need.
To start framing your mirror, you will need:
- A tape measure
- A level
- A miter saw
- Primed MDF baseboards
- Extra-strength wood glue
- Caulk
- A caulk gun
- Extra fine sandpaper
- Painter’s tape
- Non-water- based paint
- A paint brush, spray gun, or roller
- A tack cloth
Though the paint color you use is completely up to your taste, make sure you get a product that isn’t water-based.
You’ll be painting the MDF boards, which are naturally absorbent. They’ll easily soak up water and moisture, leading to splintered, swollen, or cracked boards.
Because of this, it’s best to use oil, non-water-based acrylic, or latex paints.
Even though the boards are typically sealed, it’s not worth the risk, especially when you’re putting so much effort into a DIY project.
1. Measure Your Mirror
Use a tape measure to establish the mirror's size while positioned along its edge.
Make a note of any mirror clips you come across and how they will affect your framing while you're doing it.
Measure all the way up to the top of the clips if you intend to hang the frame from the wall over them.
Measuring the distance between your mirror and other wall-mounted fixtures, such as light switches, shelving, a backsplash, a countertop, or a vanity, may be helpful as well.
Generally speaking, there should be at least a couple solid inches between the frame and all of these other items.
You'll be able to decide the size of the frame and whether it will be fastened to the wall or the mirror itself after taking all of these dimensions.
2. Cut Baseboards
To cut your boards to the right length, tilt your miter saw at a 45-degree angle.
The four parts of the MDF board should be kept apart when you're finished because you'll need to mount them separately.
To make sure everything will line up properly when you hang the mirror frame, it can be helpful to lay them out flat.
3. Paint Baseboards
It's time to paint the baseboards after you've cut them to size! It might make sense to match the color of the frame to your vanity if you're framing a bathroom mirror, but it's all up to you.
Once you've decided on a color, use a roller, brush, or sprayer to paint the boards on all sides.
Remember to paint the back because a mirror will reflect it. Feel free to include a second layer if you think it would help your boards.
Give the paint at least two hours to dry.
4. Sand Baseboards
Baseboards should be lightly sanded using an extra-fine sanding pad, and then cleaned delicately with a tack cloth.
If your project is for a bathroom mirror where you might splash water on it, you might want to add a topcoat or sealer afterwards (see also 'How To Conserve Water In The Bathroom').
You can pick the sheen you prefer, whether matte, satin, semi-gross, or high-gloss, with a polyurethane coat.
Make sure you're using a non-water-based product like the paint. Give your mirror frame four to eight hours to set since this kind of polyurethane can take longer.
5. Install The Frame
It's time to mount the mirror frame when the paint has dried. Apply your extra-strength wood glue to the board's back, beginning with the bottom piece, avoiding the edge closest to the mirror.
Make sure the frame is straight by pressing against the wall or the mirror and using a level.
While the construction adhesive dries, keep everything in place by taping using painter's tape.
Repeat the process, adding the top piece last before adding the two side pieces. Remove any extra glue from the mirror or wall.
6. Touch It Up
Remove the painter's tape and caulk any uneven corners once the mirror frame has completely dried for about 24 hours.
Apply silicone caulk to any joints or gaps with a caulk gun and smooth with a damp finger. Apply paint for touch-ups after this has dried.
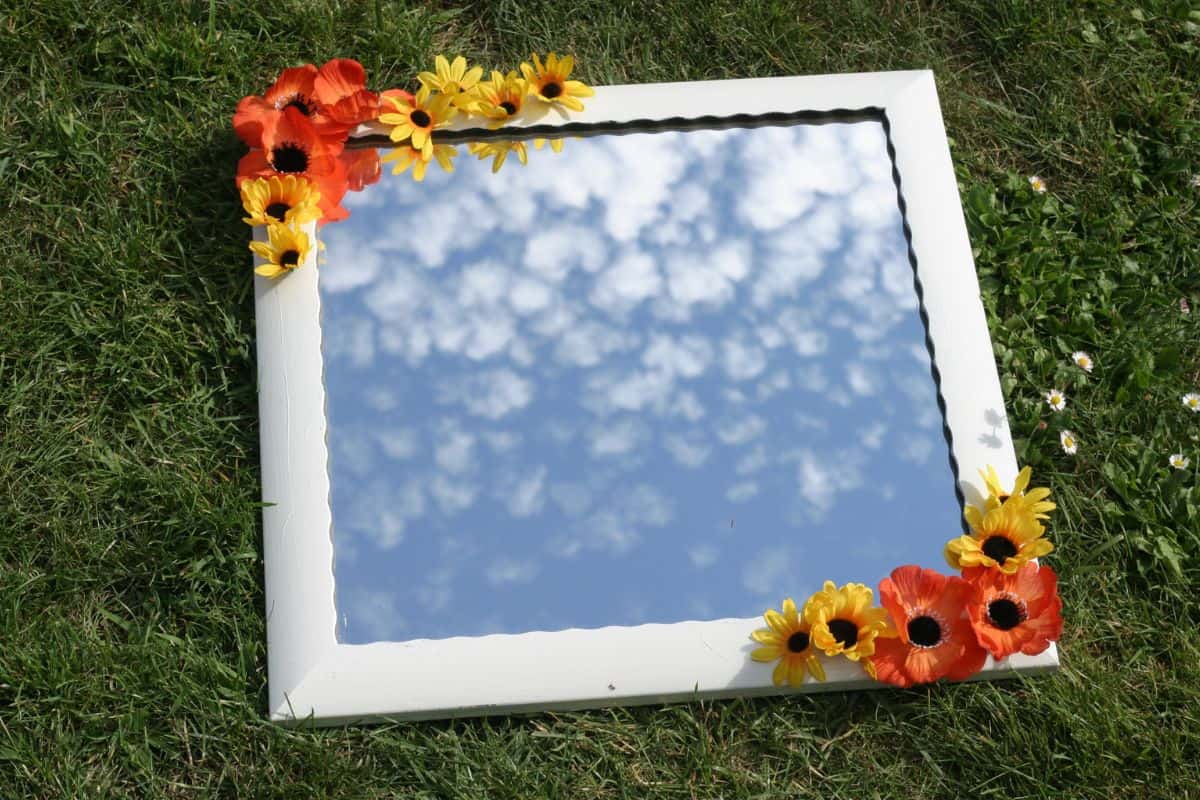
7. Customize It!
The simplest way to frame wall mirrors is undoubtedly with an MDF baseboard, but you can also use other materials to create a one-of-a-kind piece.
There are several DIY options for mirror frames.
Try using salvaged wood boards for a rustic aesthetic if you like the look of wooden frames, or paint the frames a vibrant color to match the wall or wallpaper.
To further transform your room, you might also paint a certain pattern, add a textural feature, or consider adding a string of lights.
Frequently Asked Questions
What’s The Best Glue For Mirrors?
While it might be tempting, don’t use construction glue when installing a mirror. You need specialized glue that is designed to hold it in place firmly.
The best glue for installing a mirror is one that specifies that it is for mirrors, marble, and/or granite.
Final Thoughts
With this guide, you’ll be able to frame your mirror effortlessly!
It’s a simple DIY project for beginners and will transform your old, frameless mirror into something that was specially designed by you!

Hi I’m Adrienne Carrie Hubbard. I believe a rich life comes not from the things you have, but the things you do; the experiences you create and the people you meet along the way. Thanks for hanging out!