Your inner artist quit hitting the snooze button and is–once again–excitedly awake. You vow that this time, you’ll learn how to clean acrylic paint brushes properly. (You decide this after lamenting the lackadaisical treatment you gave your last ones). Now that you’ve spent $30 on a nice new set, you’re determined to treat these tools with loving kindness. It's true that letting acrylic paint harden and remain on your tools will crush usability. When cared for properly, a good set of quality brushes can last you through years of inspired painting.

First things first: remove the gum arabic from your new paint brushes.
Manufacturers coat bristles in gum arabic to preserve shape during storage and transport.
Gum arabic dissolves in warm water. To remove this protectant, simply swish your brush in warm water or give the bristles a gentle massage under the running faucet.
Dip your paintbrush ever so slightly.
The way that you use your paintbrush has a profound impact on cleanup. The best way to dip is with restraint.
You really only want the color to stretch about a third of the way up the head of the brush. The toe (or tip) of the brush should be fully coated. If you dip your brush too deeply, paint starts to clump up around the heel of the brush (where the bristles meet the metal).
When paint accumulates in this region it ramps up the aggravation factor later, because paint is harder to remove from the heel.
Have your painting rags handy.
While you’re painting, use an old rag to wipe excess paint from your paintbrush. This will reduce the amount of paint that ends up in your rinse water. Run the rag from the heel towards the toe to push paint out of the brush rather than into the heel. If rags are in short supply, paper towels will work just fine.
Now that you’ve painted your heart out, it’s time to clean your brushes.
- Ensure that you’ve wiped off excess paint with your rag or a damp paper towel.
- Swish your brush in a cup of lukewarm water (hot water sets paint into the bristles).
- Slide your brush up the rim of the jar to squeeze excess water from the brush.
- Repeat these steps until the majority of the paint is removed.
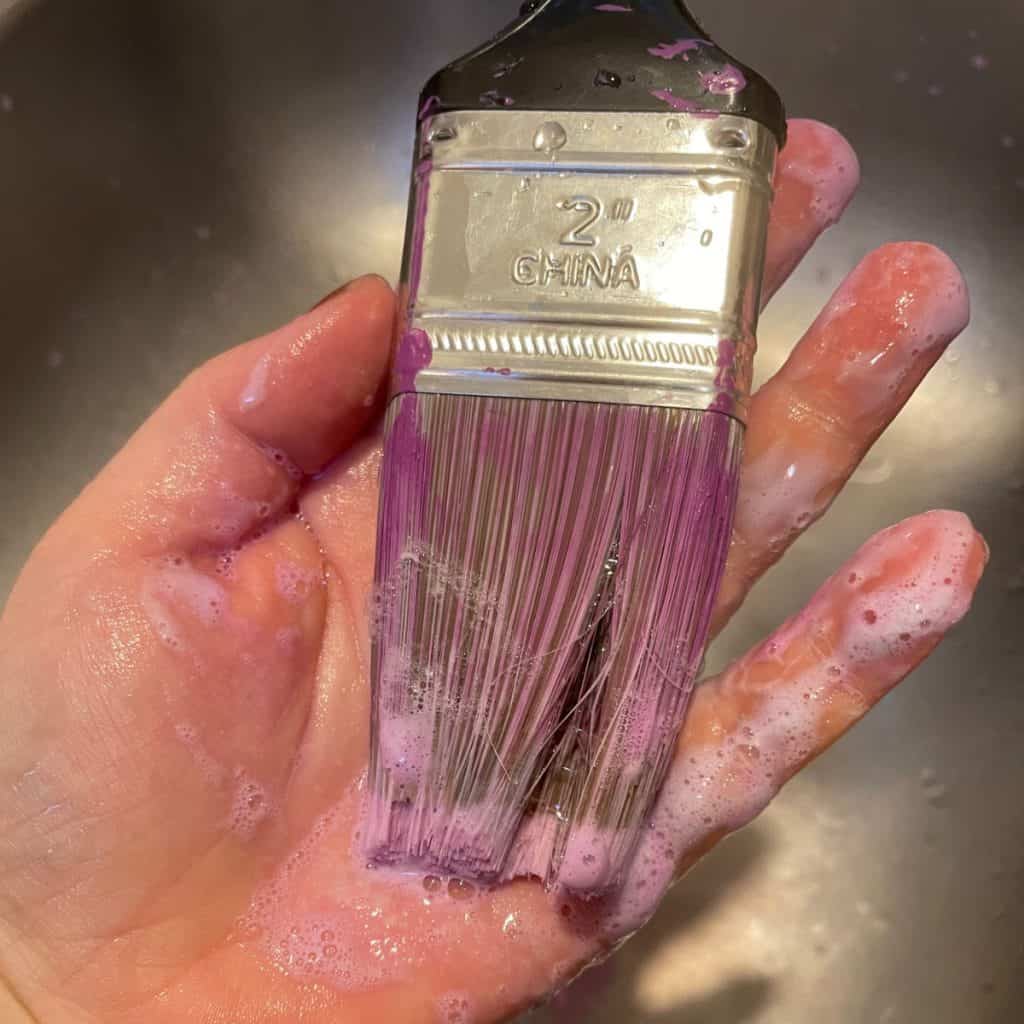
- Place a little artist’s soap or dawn dish soap into the palm of your hand.
- Run the bristles back and forth across your palm to get the bristles soapy.
- Wipe the soap and paint off the brush with your rag or paper towel.
- Put a little pail under your faucet, Run a trickle of water to dislodge remaining paint/soap.
- Save your rinse water for filtration (keep reading for rinse water disposal tips).
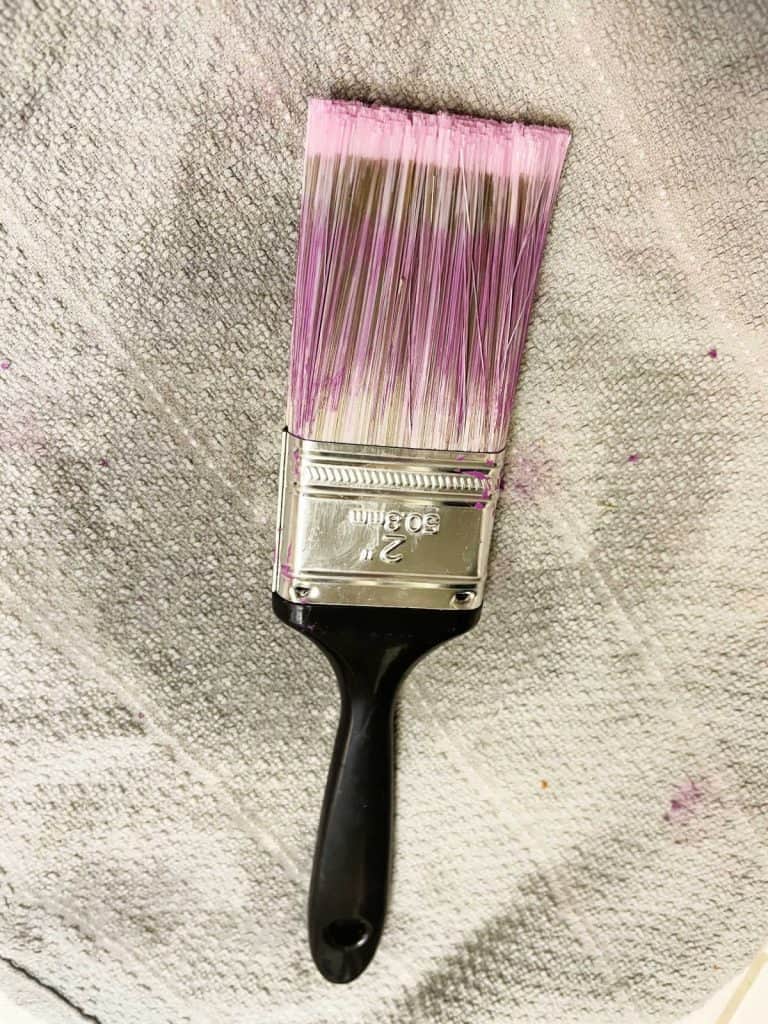
- Lay your brush(es) out on a paper towel to dry.
- Do not dry your brush head down (bristles will splay) or head up (moisture will drain into the heel and ferrule, which can be problematic in terms of corrosion or mildew).
- Once your paintbrush is completely dry, it is safe to place it into a storage rack or paint brush roll. (You can find these at your local art store or online).

Avoid pouring your paint down the sink.
Acrylic paint is partially made up of plastic. When we pour plastic particles down the drain, they can eventually end up in the ocean. We are all trying to avoid this these days because we now know about the negative impact of plastics on marine life health.
A secondary downside of pouring paint water down the sink is that solidified paint can clog up plumbing pipes over time.
These are two excellent reasons to find another way to dispose of paint water.

How to dispose of acrylic paint water.
There are quite a few choices when it comes to safely dealing with cleanup. After pouring all your creative energy into your latest masterpiece, you might be feeling too spent for a laborious tidy up.
Despair not, friend. While there are several methods, I chose a few simple options.
- A quick and easy way to take care of paint water is to stuff newspaper or kitty litter into your paint water jar and then dispose of it in your household trash.
- You can also tape a coffee filter onto a second jar and filter your dirty water through the coffee filter. The filter will grab the acrylic particles. Throw the filter and paint solids away, then pour the filtered water down the drain.
If you like to be super thorough, there are other more in depth disposal choices.
- When dealing with a higher volume of paint water you may want to consult the GOLDEN Artist Colors method for removing water based paint solids from rinse water.
- If you’re planning to paint often and have yard space, you can create a natural filtration system outside. For this, dig a hole of about 1 ½ to 2 feet deep. Place a layer of sand at the bottom (this layer should be approximately 9” thick). Cover the sand with about a foot of gravel. You can add a drain screen on the top of the filtration pit to catch the majority of the solids.
Once created, this is a super simple option for speedy rinse water disposal.
Olive oil is your savior if you missed any critical steps.
If you somehow managed to get distracted somewhere along the cleaning process, relax.
A great way to dislodge hardened acrylic paint particles is to place some olive oil into the palm of your hand and work your brush side to side through the oil. Use your fingernails to grab and drag paint off of the head of the brush. Utilize your damp paper towel to wipe the paint bits away.
Once you have done this, go back to the 10 brush cleaning steps as listed above, and you should be good to go.
Life is beautiful, especially when we paint it!
When you consider all these tips and tricks, your brushes, your inner creative spirit, and your environmental steward will align. These will no doubt culminate in a harmonious moment of creative bliss and practical care. Your acrylic paint brushes will thank you. Not to mention, your artist’s budget will be free to focus on paint and canvases, keeping you in that Van Gogh spirit!
Have you noticed the Thank with Google feature at the top of blog posts like this one? I’m thrilled to be one of the paid early testers for Google’s pilot program, Thank with Google.
Thank with Google is an experimental feature that allows my fans to purchase a virtual sticker and to show their support and appreciation for content on my website.
Every time a fan decides to send a paid sticker, they can add a personal message. I love to get feedback from readers and am so appreciative for your support. You can find the Thank with Google feature in multiple places on my site. If you try it out, let me know what you think!

Hi I’m Adrienne Carrie Hubbard. I believe a rich life comes not from the things you have, but the things you do; the experiences you create and the people you meet along the way. Thanks for hanging out!