We all use toasters, but they can be an absolute nightmare to clean.
If you are using your toaster daily, then they are going to need cleaning a lot quicker than those who use them once in a while, and the crumbs are going to build up pretty quickly.
If you think your toaster needs cleaning, but you aren’t too sure how to go about doing it, then you’ve come to the right place.
We’ll be going over a step-by-step guide that will help you clean your toaster efficiently right here. So let’s get started!
How To Clean A Toaster
Cleaning your toaster is more annoying than it is hard, so just remember that when the time comes time to clean it.
As long as you follow each of these steps exactly, your toaster will be nice and clean in no time!
Cleaning your toaster can be an annoying task, but keeping on top of it and cleaning it regularly will make this entire process feel like second nature.
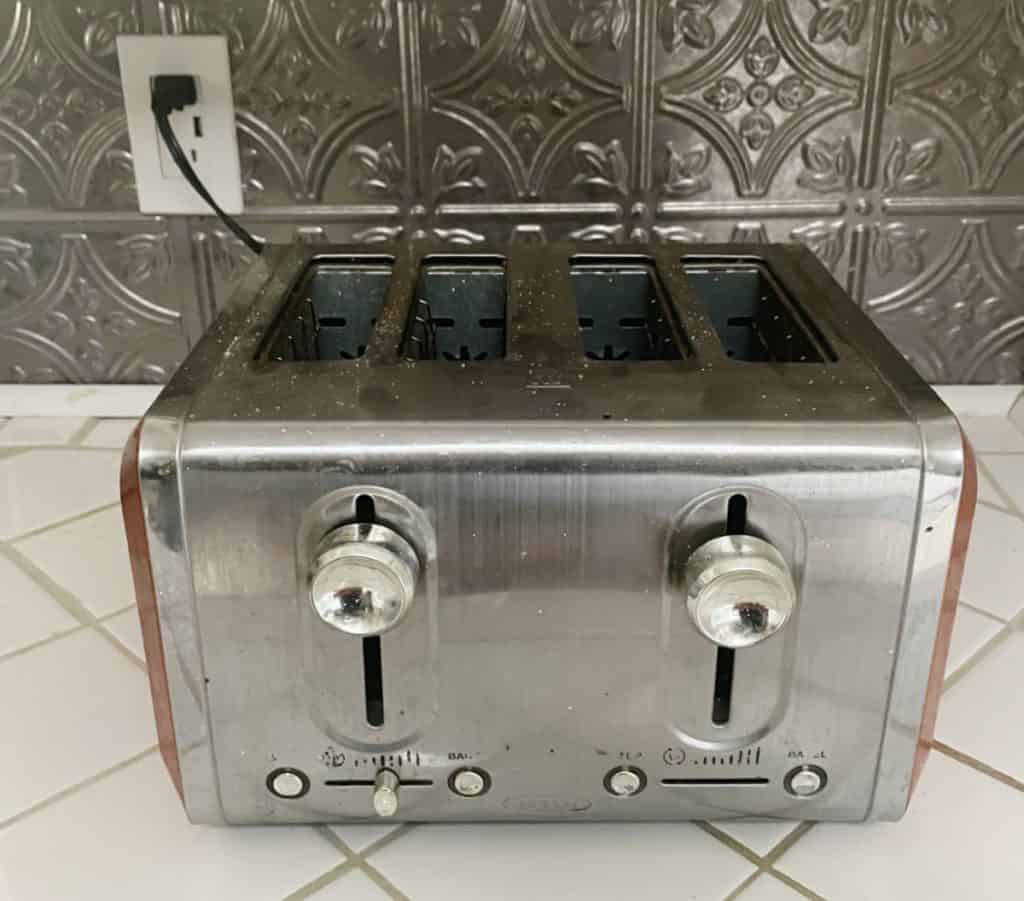
1. Unplug The Toaster
Before you do anything else, make sure that your toaster is unplugged.
When it comes time to clean your toaster you also want to make sure that it is completely cool, otherwise it can burn you.
So it’s best to wait a while after using it before you start cleaning it.
If you try to clean your toaster while it’s still plugged in, there is the risk of getting an electric shock, and no one wants that!

2. Shake Crumbs Out
Once your toaster is cool and unplugged, you’re going to want to shake all of the loose crumbs out into your trash can.
This step will be a lot easier for anyone who has a removable tray on their toaster because the crumbs will collect there!
If you don’t have a removable tray in your toaster though, don’t worry.
As long as the toaster is unplugged, you can just take the whole thing over to the trash can, turn it upside down and shake it until you feel like all the crumbs are out.
3. Make A Cleaning Solution
Next, you’re going to make a cleaning solution out of water and dishwashing liquid in your sink.
You’ll be using this cleaning solution to wash the toaster. If your toaster does have a removable tray, you can put this tray in the cleaning solution.
Make sure that the whole tray is submerged.
Once you have submerged the tray, wash it thoroughly with a sponge or dishcloth.
When you’re content with it being clean, rinse the tray with water from the faucet and leave it on the drying rack to dry.
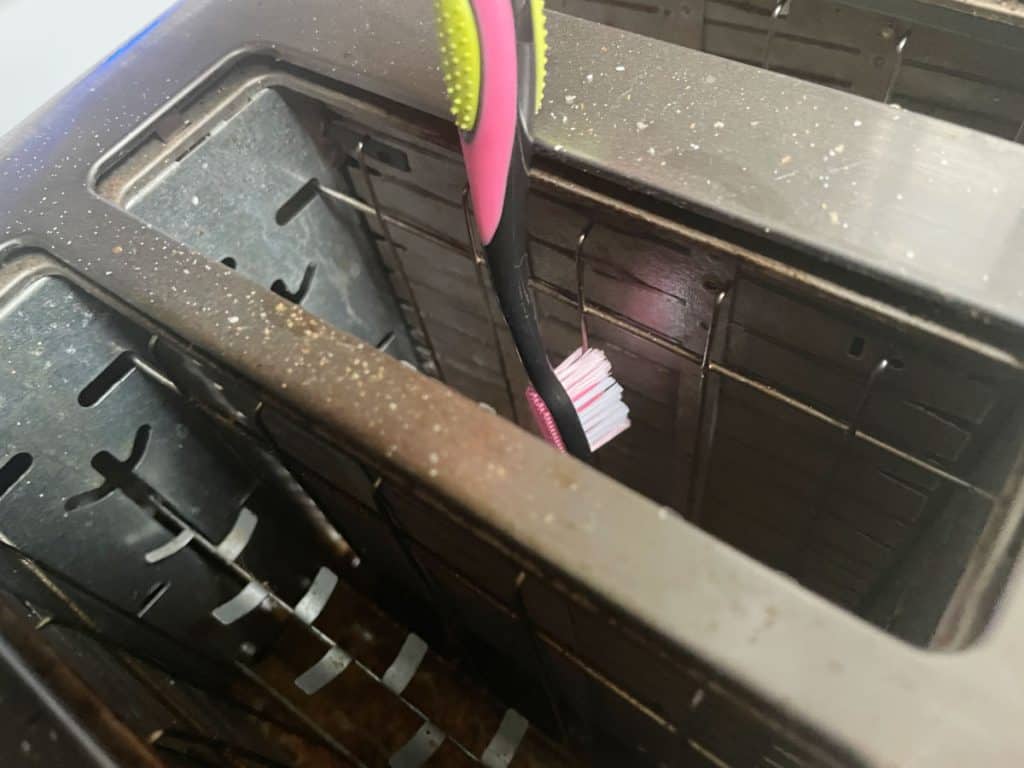
4. Brush Remaining Crumbs Away From Inside The Toaster
Going back to the actual toaster, you’re going to want to get a small brush (something like a pastry brush works best!) and brush away any remaining crumbs from inside the toaster.
Because it’s unplugged, you don’t have to worry about getting shocked.
Make sure that you keep your fingers away from the interior though because you could damage them.
The brush should extend enough into the toaster so you won't have to use anything else.

5. Clean The Outside Of The Toaster
Once you have finished the previous step, you are now going to start cleaning the outside of the toaster.
Dip your sponge into the cleaning solution you made and make sure to wring out the majority of the water.
You’ll then use the sponge to wash the exterior. Make sure to pay attention to the dials and the levers when you’re doing it.
Some toasters let you remove the dials so you can clean them better.
As soon as the outside of the toaster is clean, wipe the whole toaster down with clear water to get rid of any soapy residue that is left behind.
Finally, dry the toaster with a microfiber cloth.
6. Put The Toaster Back Together
Now that the toaster is clean, you’re going to begin reassembling it. If you have removed the dials, put them back on.
If your toaster does have a crumb tray, make sure it’s completely dry before you put it back in.
If your toaster doesn’t have a crumb tray and the dials can’t be removed, all you have to do is make sure there’s no excess water left on it and just put it back in its regular space and plug it back into the wall.
Once you have completed this step, you will have a nice, clean toaster again!

How Often Should You Clean Your Toaster?
How often you clean your toaster will purely depend on how often you use it.
The crumbs that are left behind from the bread will gather quite quickly, so if you are using your toaster every day, you should aim to clean it at least once a week.
The reason you should do this is that the leftover crumbs can cause your bread to taste burnt and in some cases, it can even cause a fire.
Even though a toaster fire is quite rare, it’s always better to keep on top of its cleanliness of it to avoid it completely.
If you only use your toaster a couple of times a week, you don’t need to clean it every week, but you shouldn’t wait longer than two weeks between cleaning.
If you only use your toaster every so often, you will most likely only need to clean it every month, but this is just a guideline.
You can clean it whenever you feel like you should.
FAQ
Giving your toaster a good wash is easy and you won't get electrocuted. You need to make sure it is completely dry before you use it again. Unplug your toaster and do the normal upside-down shake thing over the sink. Pull out the crumb tray, if it has one, wash it with warm water and dish soap and let it dry.
If you want to disinfect the inside, moisten a soft cloth with a water and bleach mixture (1 part bleach to 10 parts water). Squeeze it out well. You want the cloth to be moist, but not wet. Make sure that NO standing water is left inside the unit.
While toasters can range in price and features, most toasters have an average lifespan from six to eight years. You can extend the life of your appliance by cleaning it regularly to remove excess breadcrumbs and additional food particles.
The food particles and toast crumbs can begin burning on your tray. If you notice and sense a burning smell, then check the tray and clean it. If one of the components of the circuit board in your toaster is burnt, it can start to smell and will need to be replaced.
Wipe down the inside and outside of the toaster oven at least once a week. Avoid using scouring pads or hard-bristled brushes when cleaning or you risk scratching the finish on your toaster.
The more frequently you use it, the more build up of crumbs and old food particles there will be, as well as a need for upkeep and regular cleanings in the week. Empty the crumb tray with each use and clean the interior and exterior of a toaster weekly in order to best avoid excess grime and burnt food particles.
Conclusion
Toasters are a vital utensil that gets used quite regularly in the vast majority of kitchens, and though it is quite an annoying task, it is absolutely essential that you keep it clean.
When too many crumbs accumulate in your toaster, you run the risk of anything being put in it getting burned, and in some cases, it can even cause a fire.
Keeping on top of the cleanliness is just overall convenient!

Hi I’m Adrienne Carrie Hubbard. I believe a rich life comes not from the things you have, but the things you do; the experiences you create and the people you meet along the way. Thanks for hanging out!