Iris flowers are renowned for their exquisite beauty and vibrant colors, making them a popular choice among gardeners worldwide. While iris plants can thrive for many years in the same location, there may come a time when you wish to transplant them to a different spot in your garden or share them with fellow enthusiasts. If your bearded irises have been in the same spot for over four years, or the plants don't bloom as they did once, it's time to dig, divide, and replant.
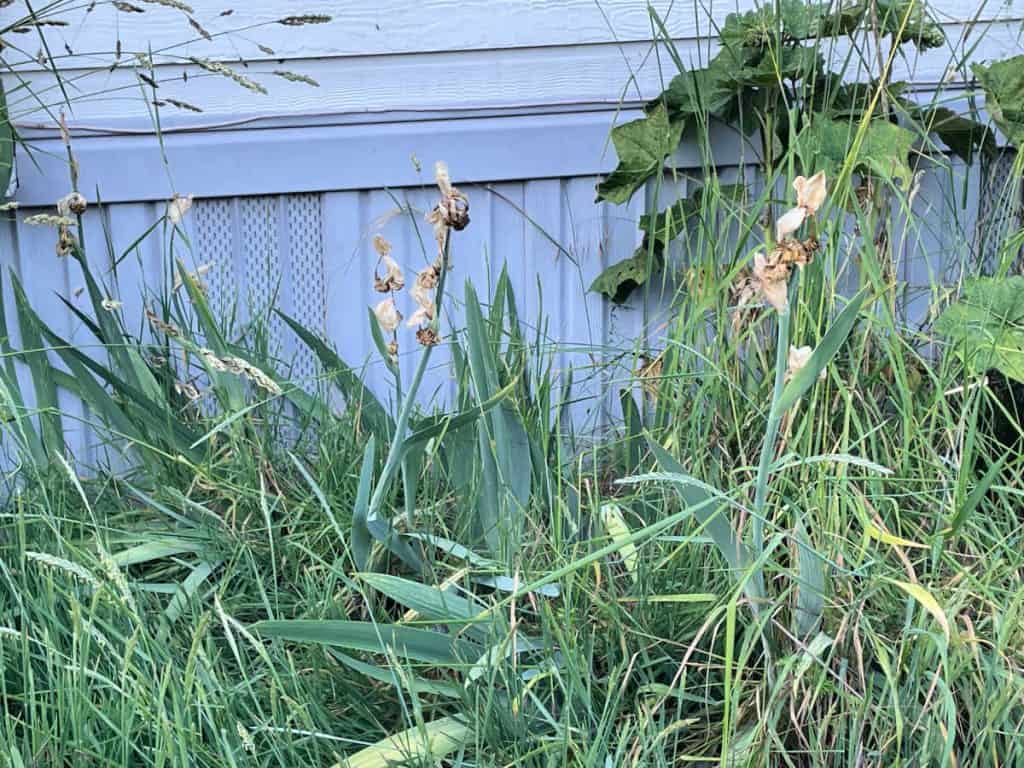
How do you know if your irises are overcrowded?
Overcrowded iris rhizomes will start to push on each other, which results in the entire root system of your iris plants literally pushing themselves out of the ground. They may even stop putting up foliage and the plants may only grow foliage on the outside edges of the clump.
Transplanting iris rhizomes, the thick, fleshy root structures of the iris plant, can seem like a daunting task, but with proper guidance, it can be a rewarding and successful endeavor.
Best time of year for transplanting iris bulbs
Timing is crucial when it comes to transplanting iris rhizomes. The best time to transplant irises is in late summer or early fall, after the plants have finished blooming for the season. This allows the rhizomes ample time to establish themselves before the arrival of winter.
How to prepare the new planting site
Site Before transplanting, select an ideal location for your irises. They thrive in well-drained soil and prefer at least six hours of direct sunlight daily. Prepare the soil by removing any weeds, rocks, or debris and amend it with organic matter like compost to improve its fertility and drainage.
How to dig up iris bulbs
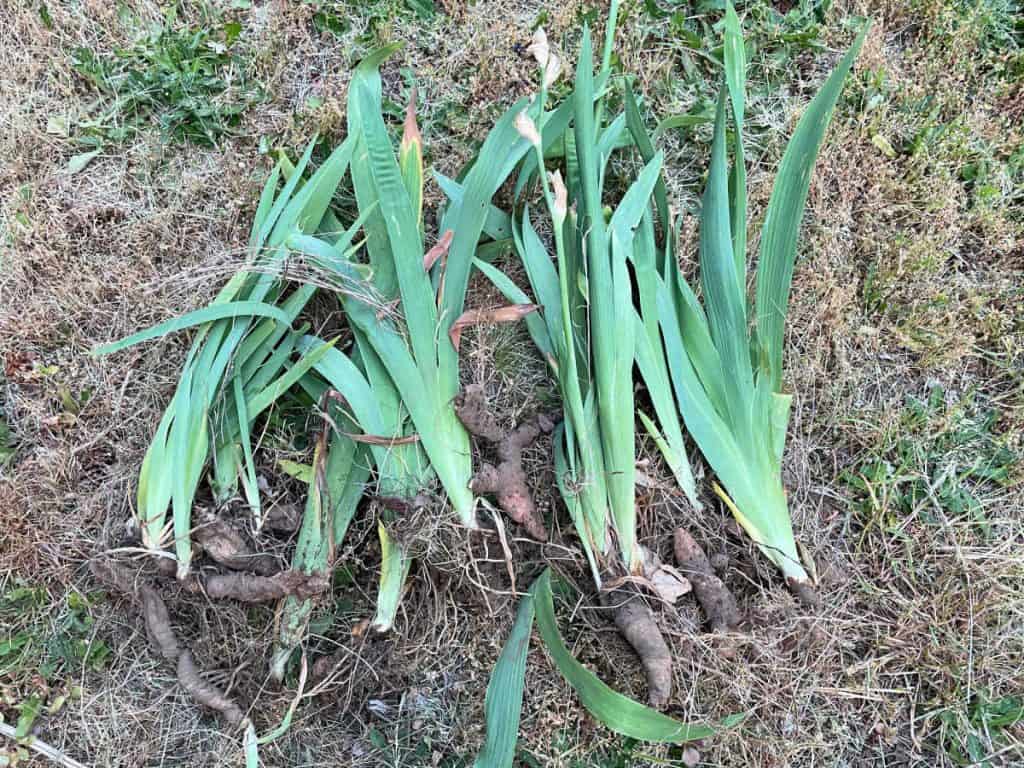
To successfully transplant iris rhizomes, carefully dig up the plants using a garden fork or shovel. Start by loosening the soil around the clump of irises, being cautious not to damage the bulbs. Once loosened, gently lift the clump out of the ground, taking care to keep the rhizomes intact.
Dividing iris bulbs
Once the clump is out of the ground, you may choose to divide the rhizomes, especially if the clump has become overcrowded. Look for healthy, firm rhizomes with a fan of leaves attached. Discard any old, shriveled, or diseased rhizomes. Using a clean, sharp knife, divide the rhizomes into sections, ensuring that each section has a fan of leaves and healthy roots.
Prepare the rhizome hole
In the new planting site, dig a hole wide and deep enough to accommodate the rhizomes comfortably. Make sure the hole is large enough to spread out the roots and accommodate any growth. Space the rhizomes about 12 to 24 inches apart to allow ample room for future growth.
Plant the iris bulbs
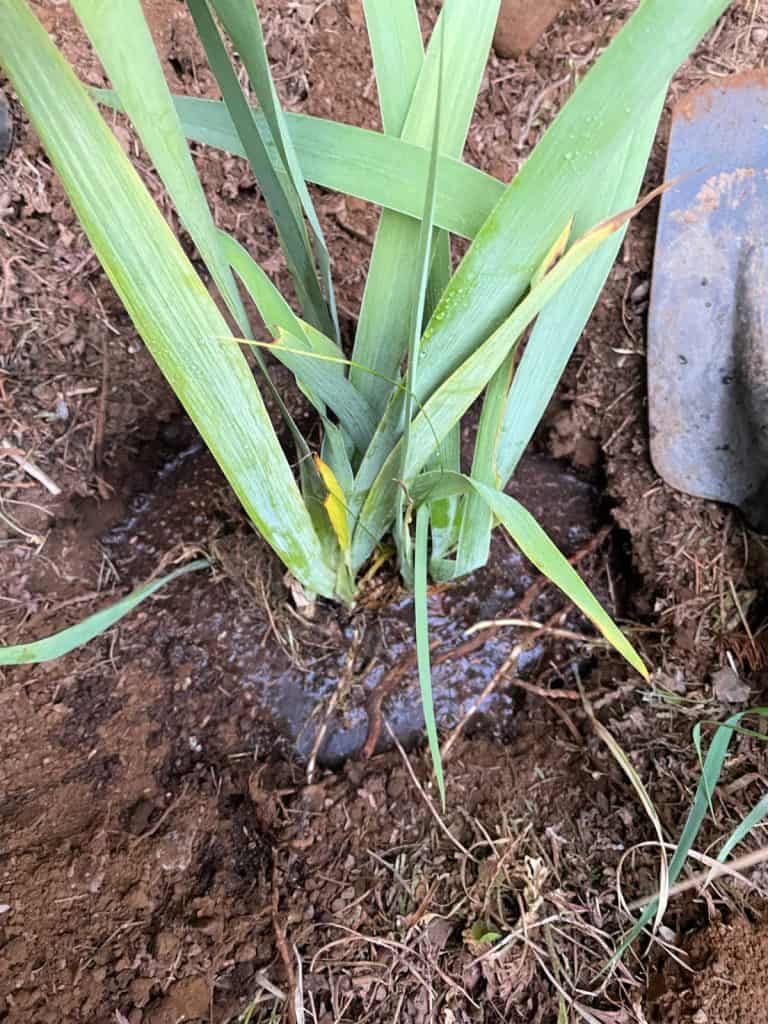
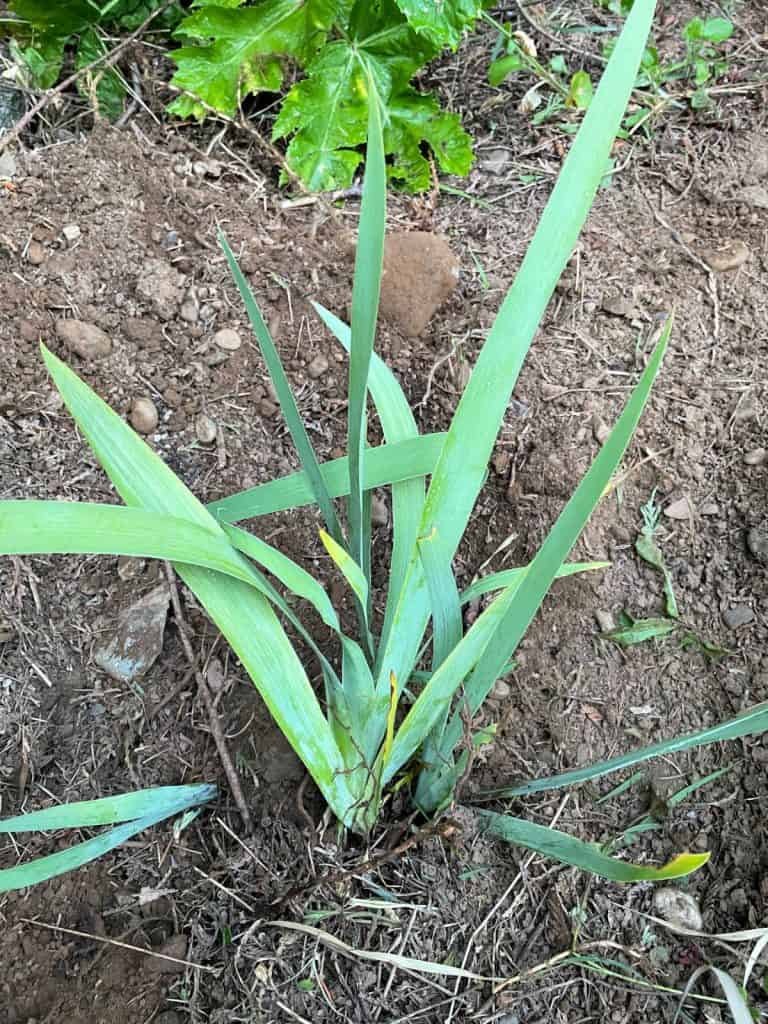
Place the divided rhizomes in the prepared holes, ensuring that the tops are just above the soil surface. Spread out the roots and gently firm the soil around the rhizomes, taking care not to bury them too deep. Water the newly transplanted irises thoroughly to settle the soil and remove any air pockets.
How to care for transplanted iris bulbs
After transplanting, it is essential to provide proper care to help the irises establish themselves in their new location. Water the transplants regularly for the first few weeks, keeping the soil moist but not waterlogged. Apply a layer of mulch around the plants to conserve moisture and suppress weed growth.
By following the step-by-step guide outlined above, you can successfully transplant your irises to a new location and continue to enjoy their beauty for years to come.
FAQ
We recommend planting 12-24 inches apart, as planting too close together results in poor flowering. Plant rhizomes at the surface of the ground. The tops of the rhizomes should be visible; be sure to spread the roots out below the soil.
Trim the leaves back to 8 inches before transplanting iris. Replant the smaller, younger rhizomes so that the top of the rhizome sits at or slightly above the soil line. Do not bury rhizomes too deeply or you risk having them rot.
Late July through mid August is the best time to plant, move or divide iris. Iris is one of the most popular perennials in the garden and easy to grow. Although they provide pleasure for many years with little care, periodic dividing is an important cultural practice for maintaining plant health.
What happens if you don't divide irises? If you don't divide perennial irises, they will probably become so overgrown they won't produce flowers anymore. We also know that they become more prone to disease and root rot.
October is a little late for transplanting iris but if the weather remains seasonably warm, you should be OK. Ideally, you should transplant them after blooming, from summer into fall. Carefully lift the clump of rhizomes. Brush off the soil to make it easier to see what you are doing.
Trim Iris foliage to a height of about 6 inches. A clean garden will help prevent the spread of various fungal diseases and can discourage overwintering pests from building nests. Evergreen boughs or straw make a good winter protection for Iris, particularly in areas with especially harsh winters.

Hi I’m Adrienne Carrie Hubbard. I believe a rich life comes not from the things you have, but the things you do; the experiences you create and the people you meet along the way. Thanks for hanging out!